


This article was originally published on blog.
In this article, we are going to see how to integrate AutoMapper in ASP.NET Core Web API. First, we will see what the heck is AutoMapper and which problem it solves. After that, we will integrate it with Web API and then we will take a look at commonly used features of AutoMapper. So let's grab the cup of coffee and start learning.
TL;DR
What is AutoMapper?
AutoMapper is a component that helps to copy data from one type of object to another type of object. It is more like an object-object mapper. According to the AutoMapper docs:
AutoMapper is an object-object mapper. Object-object mapping works by transforming an input object of one type into an output object of a different type. What makes AutoMapper interesting is that it provides some interesting conventions to take the dirty work out of figuring out how to map type A to type B. As long as type B follows AutoMapper’s established convention, almost zero configuration is needed to map two types.
Why we need to use AutoMapper?
When we have to map two different objects we can use AutoMapper. One of the problem is like while building the application we have some entities which are dealing with DB(forex DTO's) and some entities we are dealing with a client. So we have to map those DTO's to the entities dealing with clients. For example, we have to two classes Student and StudentDTO as below:
Student:
public class Student
{
   public string Name {get; set;}
   public int Age {get; set;}
   public string City {get; set;}
}
StudentDTO:
public class StudentDTO
{
   public string Name {get; set;}
   public int Age {get; set;}
   public string City {get; set;}
}
Now we have to map those objects then what we do is like creating a method that can take input StudentDTO class object and map the values and return Student class object.
public Student MapObjects(StudentDTO studto)
{
   return new Student() {
     name = stud.Name,
     age = stud.Age,
     city = stud.City
   };
}
It will solve the problem but then what happens when a class has so many properties, so in that case, it is very difficult to write mappings for each and every property. And this is for one class, now if you have such 100 classes then we should have to write the same kind mapping for 100 class. So there is the simplest solution to solve this problem and it is using Automapper. Let's see how we can integrate it with ASP.NET Core Web API.
How AutoMapper works?
AutoMapper internally uses a great concept of programming called Reflection. Reflection in C# is used to retrieve metadata on types at runtime. With the help of Reflection, we can dynamically get a type of existing objects and invoke its methods or access its fields and properties. You can read more about Reflection here.
Integrating AutoMapper in ASP.NET Core Web API project
Prerequisites
- Visual Studio 19(if you are using .Net Core 3.1)
- .Net Core SDK installed
First thing is to create a new ASP.NET Core Web API project or you can open any existing Web API project. Those who are new to ASP.NET Core I have listed down the steps to create a new Web API project.
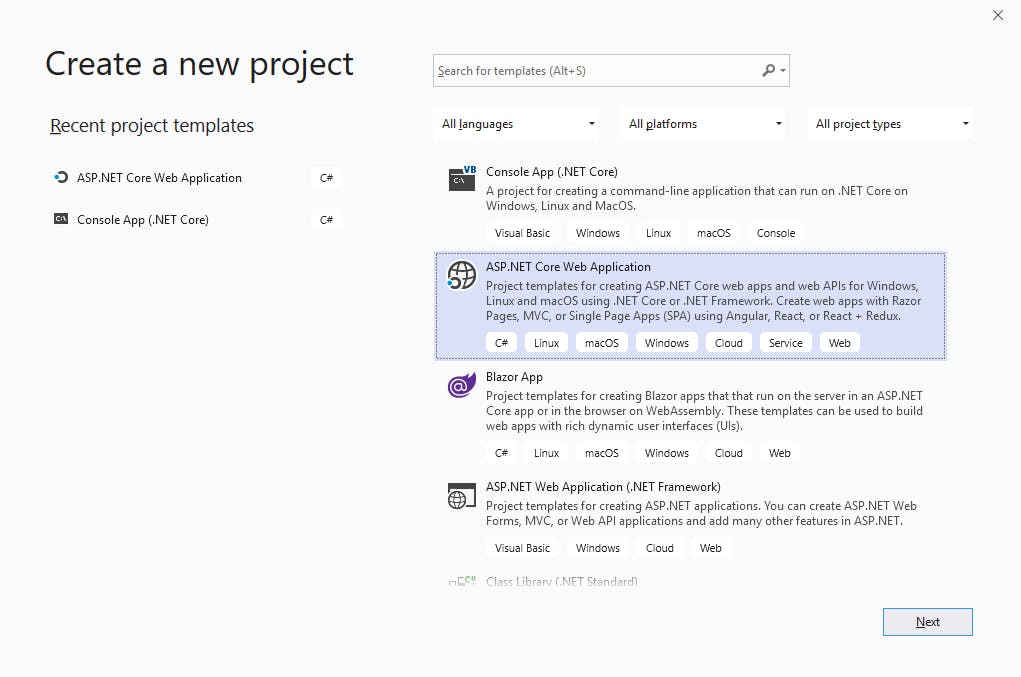
Open Visual Studio and click on File -> New -> Project. Then select ASP.NET Core Web Application and click on the Next button.
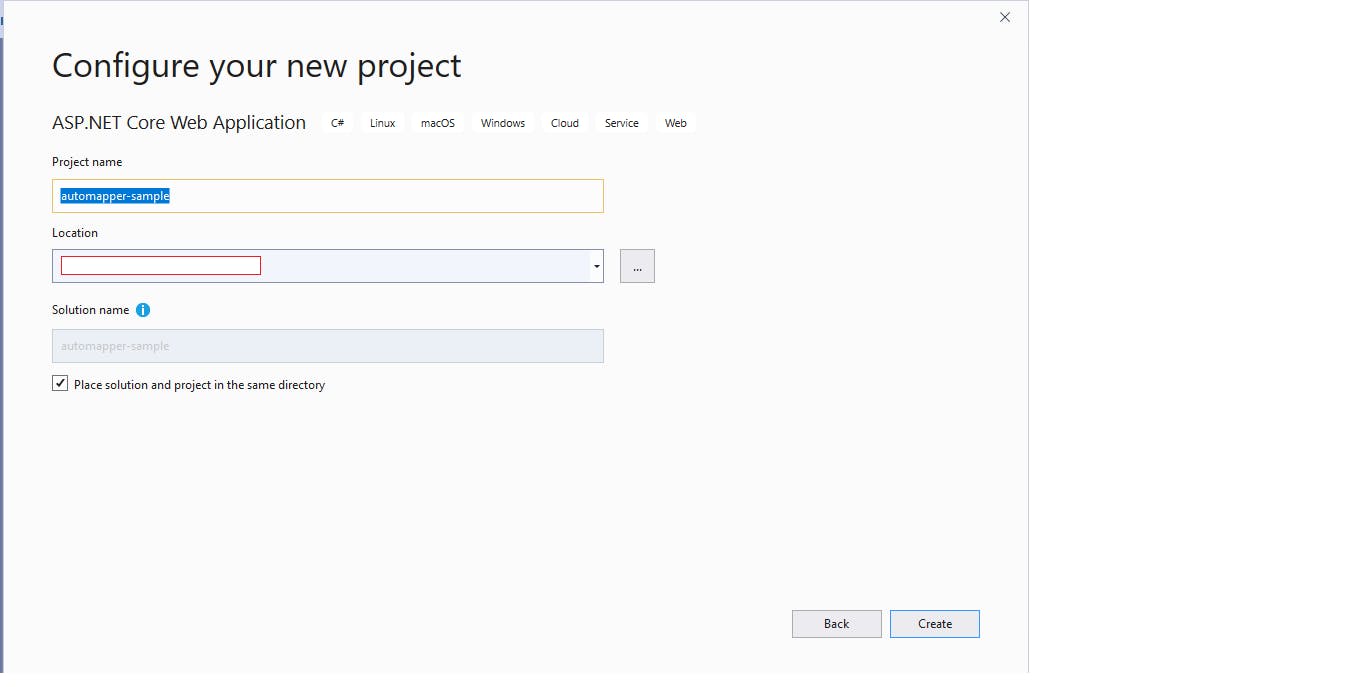
Give the project name and click on the Create button.
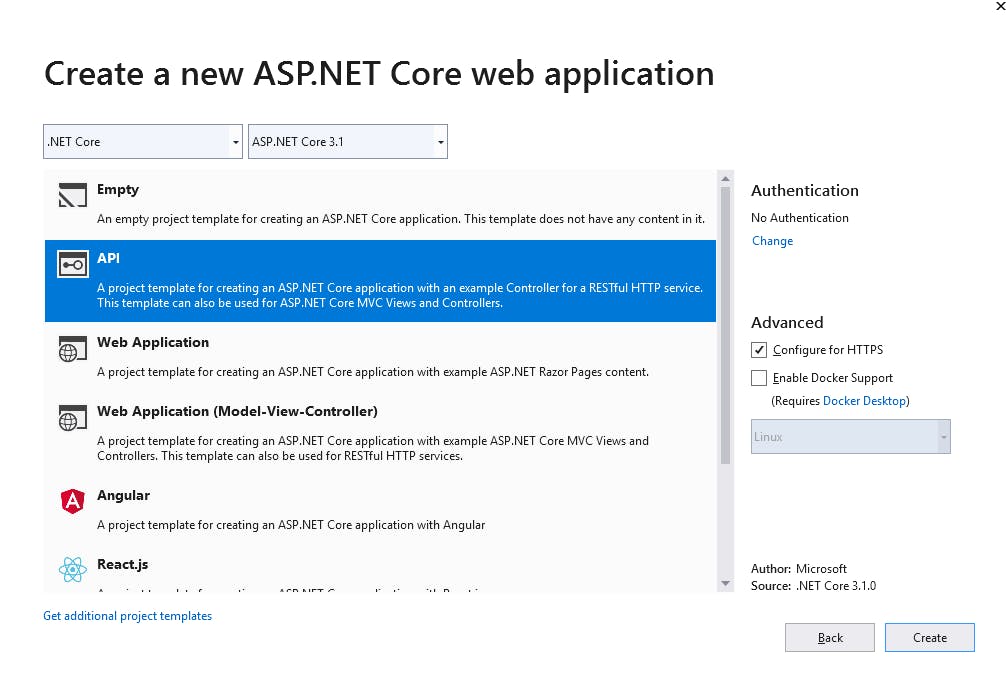
After that select API and click on Create button.
So now your ASP.NET Core Web API project is setup.
Install AutoMapper Nuget Package
Right-click on the project and click on Manage Nuget Packages and search for below package:

Or open Package Manager Console and run below command
Install-Package AutoMapper.Extensions.Microsoft.DependencyInjection
The above package will automatically install the AutoMapper package for us since it references the same package.
Configure AutoMapper
Now we have installed the AutoMapper package. So the next step is to configure for our ASP.NET Core Web API. Open the Startup.cs class and add the below code into ConfigureServices method.
public void ConfigureServices(IServiceCollection services)
{
    services.AddControllers();
    services.AddAutoMapper(AppDomain.CurrentDomain.GetAssemblies());
}
The AddAutoMapper method provided by the AutoMapper package which traverse the assembly and checks for the class which inherits from the Profile class of AutoMapper. This method takes a single assembly or list of assemblies as input.
We have used AppDomain.CurrentDomain.GetAssemblies() which gives an array of assemblies in this application domain.
Creating classes
So to make thing simple create two classes called Student.cs and StudentDTO.cs
Creating Profiles
Create a new class called AutoMapperProfile.cs which inherits from Profile class of AutoMapper. Use CreateMap<source, destination>() to create mapping between classes.
So here we have mapped StudentDTO to Student class.
When the application starts it will initialize AutoMapper and then AutoMapper scans all assemblies & look for classes that inherit from the Profile class and load their mapping configurations. It's really simple.
Using IMapper
IMapper interface is used to map two objects. Create a new controller called StudentController.cs. Resolve the IMapper dependency in the controller constructor.
We have created a new object of StudentDTO class and assign values to it. So now we have to map it with Student class, we used _mapper.Map() method. Do you think from where the IMapper is injected? We haven't registered it in ServiceCollection. AddAutoMapper() method in your ConfigureServices takes care of all of this for you.
Now start the API and browse /api/student to see the result.
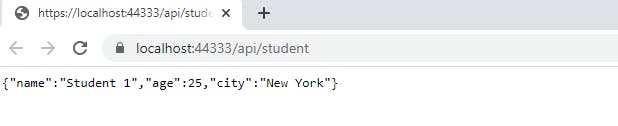
That's it. You have successfully configured AutoMapper into your Web API project.
Commonly used features of AutoMapper
In this section, we will be looking at some of the commonly used features of AutoMapper.
Projection
Now you must be thinking about what happens when source class has a different property name than the destination class. Let's do it & see the output.
So for demo purpose, I have changed the StudentDTO City property to CurrentCity as below:
namespace automapper_sample
{
    public class StudentDTO
    {
        public string Name { get; set; }
        public int Age { get; set; }
        public string CurrentCity { get; set; }
    }
}
And I haven't changed Student class which looks like as below:
namespace automapper_sample
{
    public class Student
    {
        public string Name { get; set; }
        public int Age { get; set; }
        public string City { get; set; }
    }
}
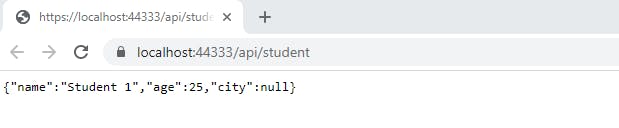
So now after running the application, you will see the City is not mapped with CurrentCity property:
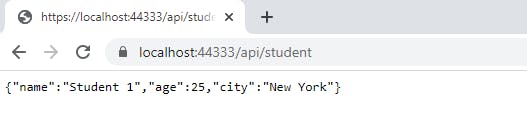
To solve this problem we have concepts in AutoMapper called Projection. So to solve this we have to define a mapping for all the property which are different in both classes. Open the AutoMapperProfile.cs file and add below code:
Now run the application and see the output:
Nested Mappings
In the previous feature, we have seen that how to map two different properties but now think what happens when both classes have Inner class with it. For example, suppose StudentDTO has a property which is of type AddressDTO class and Student class has nested class property called Address.
AddressDTO.cs
namespace automapper_sample
{
    public class AddressDTO
    {
        public string State { get; set; }
        public string Country { get; set; }
    }
}
StudentDTO.cs
namespace automapper_sample
{
    public class StudentDTO
    {
        public string Name { get; set; }
        public int Age { get; set; }
        public string CurrentCity { get; set; }
        public AddressDTO Address { get; set; }

    }
}
Address.cs
namespace automapper_sample
{
    public class Address
    {
        public string State { get; set; }
        public string Country { get; set; }
    }
}
Student.cs
namespace automapper_sample
{
    public class Student
    {
        public string Name { get; set; }
        public int Age { get; set; }
        public string City { get; set; }
        public Address Address { get; set; }
    }
}
So to map these Nested classes we have to write mapping for nested classes also in our AutoMapperProfile.cs class
Output looks like:

Conditional Mappings
Most of the times we have to map property on the basis of some conditions. And to do this AutoMapper has a concept called Conditional Mappings. While writing mappings we can specify conditions for the specific properties.
So in the above example, you can see that IsAdult property is calculated based on condition i.e Age > 18.
AutoMapper provides so many other features to simplify complex mappings. You can check docs here.
Conclusion
In this article, I have explained about AutoMapper and how to integrate it with ASP.NET Core Web API. Also demonstrated some of the commonly used features of AutoMapper.
I really hope that you enjoyed this article, and please do not hesitate to send me your thoughts or comments about what could I have done better.
You can follow me on twitter @sumitkharche01
Happy Coding!